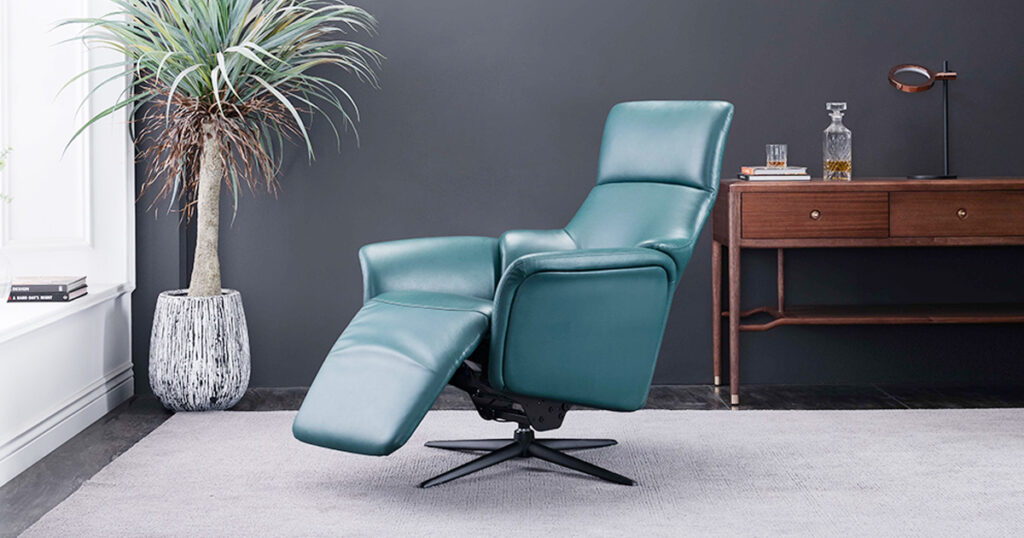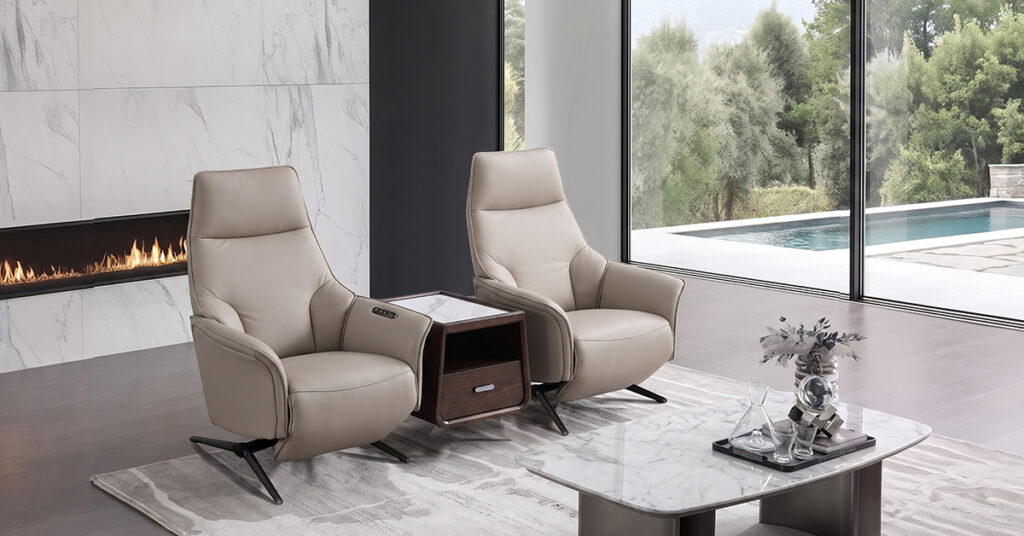
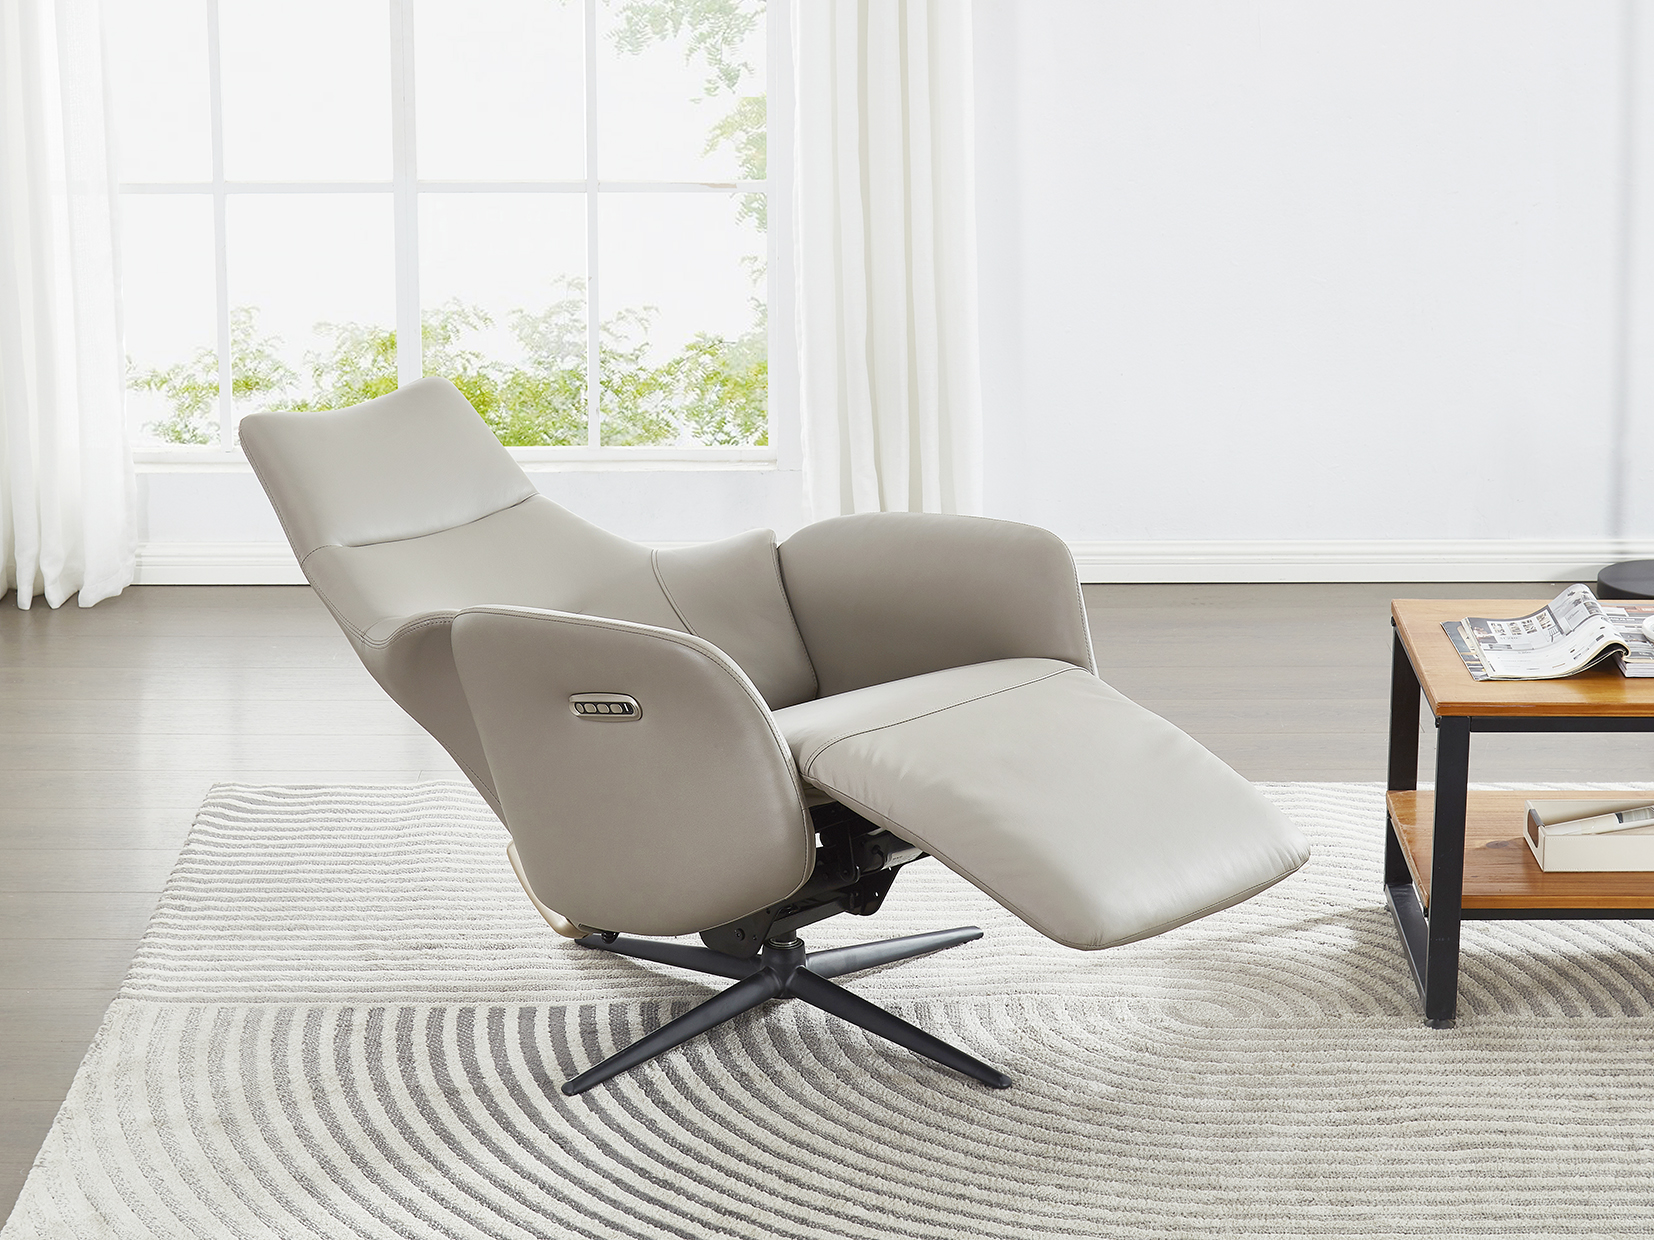
Is your electric recliner making noise that wasn’t there before? You press the button, and instead of the usual smooth hum, you hear squeaks, clicks, or even grinding. Most people instantly call for repair, but the truth is, most electric recliner noise issues can be fixed in 15 minutes with just a screwdriver and a can of lubricant.
Before you do anything else, unplug the power cord. Safety comes first.
Listen First – What’s That Sound?
Different sounds point to different causes. When troubleshooting electric recliner noise, pay attention to what you hear:
- Squeaking or creaking → almost always dry metal joints. The lubricant has worn off, and metal is rubbing against metal.
- Clicking or clunking → loose screws or a shifting spring. As the mechanism moves, these parts knock against each other.
- Humming motor but no movement → the motor is stuck, likely blocked by debris, or the gears are jammed. A pinched power cord can also cause this.
- Dull rumbling or vibrating → the chair is too close to the wall (sound bounces back), or it’s sitting on an uneven floor, putting stress on the frame.
- High-pitched metal scraping → serious gear wear. When electric recliner noise reaches this level, a part replacement is usually needed.
5 Checkpoints to Try Before Calling for Repair
Checkpoint 1: Tighten all screws
Carefully tip the recliner to one side (get someone to help if it’s heavy) so you can see the metal base. Check every screw, bolt, and nut you can find—especially at the hinge points, rail mounts, and where the backrest attaches to the seat. Use a wrench or screwdriver to tighten any that are loose. Don’t overtighten, especially on wooden frames—you can split the wood. If a particular screw keeps coming loose, apply a drop of threadlocker. Loose screws are a common source of electric recliner noise, yet they’re the easiest fix.
Pro tip: Leader Seating’s recliners are built with high-quality metal bases and precision-engineered joints, but even the best craftsmanship needs occasional screw checks after months of regular use.
Checkpoint 2: Lubricate the moving joints
Apply lubricant to every metal pivot point: the footrest hinges, the main reclining bar, the tension springs, and all bracket connections. The best products are silicone spray lubricant or white lithium grease. They stay put and last a long time.
Important: Never use ordinary WD-40. It’s a solvent, not a true lubricant. It will seem to work for a day or two, then evaporate and leave the joints even drier than before. A dry joint is often the root cause of persistent electric recliner noise.
After spraying, cycle the recliner fully in and out 8–10 times to work the lubricant into all the joints. Wipe away any excess with a rag to keep dust from sticking.
Checkpoint 3: Clear out any debris
Snack crumbs, pet hair, coins, or even a lost remote can fall into the mechanism. When the metal parts move, these objects get pinched between moving pieces and cause odd noises. Use a flashlight to inspect the path of all moving parts—look for anything lodged in the rails, gears, or levers. Remove it with a small brush or a vacuum cleaner. If you find thread or string wrapped around an axle, carefully cut it free. Even a small piece of debris can generate surprising electric recliner noise.
Checkpoint 4: Adjust the placement
If your recliner is pushed tight against the wall, the sound of its mechanism will reflect off the wall and seem much louder. Move it at least 4 inches (10 cm) away from any wall. Also, check if the floor is uneven. An unstable base puts uneven pressure on the frame, creating strange vibrations. Place a rug or soft mat under the feet to level it out and absorb some of the vibration. Sometimes, what sounds like electric recliner noise is actually just vibration echoing off a nearby wall.
Checkpoint 5: Inspect the power cord
Examine all exposed wiring—from the plug to the transformer and down to the motor. Look for any signs of being pinched, frayed, or chewed. If the cord is caught between moving parts, reroute it and secure it with cable ties, making sure it stays clear of all moving joints. If the outer insulation is damaged, do not attempt to repair it yourself—contact the manufacturer for a replacement. A frayed cord is a fire and shock hazard.
When Electric Recliner Noise Means Professional Help
If you’ve gone through all five checkpoints and the electric recliner noise is still there, or if you notice any of these warning signs, stop tinkering and call for help:
- Burning smell or smoke from the motor – unplug immediately
- Bent, cracked, or broken metal frame parts
- Continuous harsh grinding with jerky movement (gears are likely stripped)
These issues require replacement parts and professional tools. Reach out to your manufacturer’s support team—Leader Seating offers dedicated after-sales service for all its electric recliners and functional armchairs.
Simple Prevention Habits to Keep Electric Recliner Noise Away
A little routine care goes a long way:
- Lubricate all metal joints every 6–12 months
- Check screw tightness every 3 months
- Vacuum under the chair regularly to prevent debris buildup
- Stay within the weight limit – overloading wears out parts faster
- Use a stable power source to avoid motor strain
Most electric recliner noise problems can be fixed with a screwdriver, a can of lubricant, and about 10 minutes of your time. Next time your electric recliner starts making strange sounds, try these steps before picking up the phone. Chances are, you’ll save yourself a service call and enjoy a quiet, smooth ride again.
Explore Leader Seating today and discover your perfect relaxation companion. With over 20 years of expertise in functional armchairs and electric recliners, Leader Seating combines innovative design, premium materials, and ergonomic mechanisms to bring you lasting comfort.